Nextcloud 安装配置
Nextcloud All-in-One
Nextcloud All-in-One 在一个 Docker 容器中提供了方便部署和维护的 Nextcloud 方式。[1]
使用 docker compose 部署
为方便后期管理及迁移,建议使用 docker compose 方式部署。docker-compose.yml 参考文件如下: [2]
version: "3" |
使用 docker compose 方式部署注意事项:
name: nextcloud_aio_mastercontainer: Volume 名称必须是nextcloud_aio_mastercontainer,否则会报错找不到卷nextcloud_aio_mastercontainer:It seems like you did not give the mastercontainer volume the correct name? (The 'nextcloud_aio_mastercontainer' volume was not found.). Using a different name is not supported since the built-in backup solution will not work in that case!
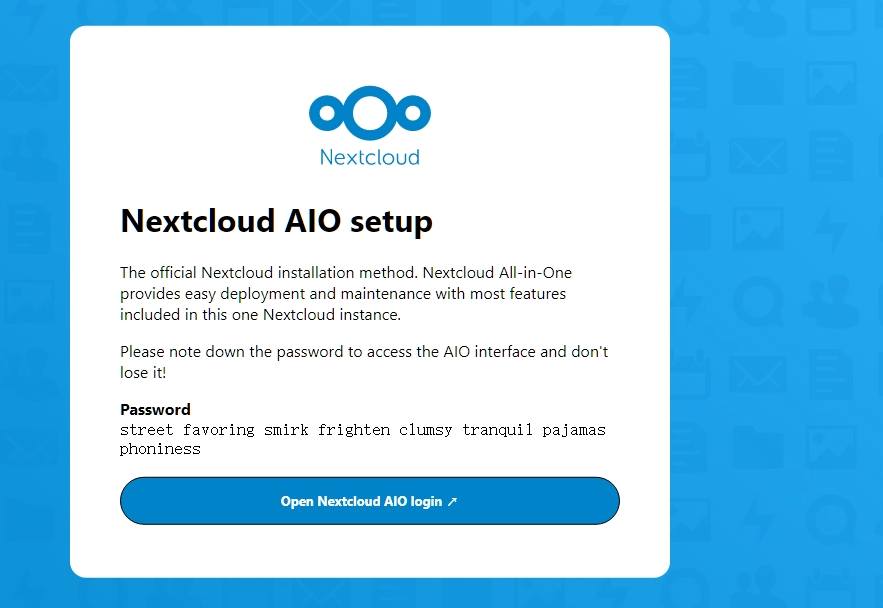
启动成功后,根据提示在浏览器中打开 Nextcloud AIO setup 页面并记录页面显示的密码
You should be able to open the Nextcloud AIO Interface now on port 8080 of this server! |
根据页面提示登陆,跟随页面提示进行新实例初始化。
初始化过程中要提供域名,系统会自动为域名颁发证书(使用系统 443 端口映射到容器中的 8443 端口)
默认的 Nextcloud AIO 未部署反向代理,要使用反向代理请参考文档: Reverse Proxy Documentation